Custom Localization for Branded App
How to use Lokalize
Lokalise is a service for automating the application localization process. In this review, we will explain how Lokalise helps to localize the Cloudike application quickly and easily.
First meeting
You can enter the service both through the traditional registration procedure and through your Google or GitHub accounts: https://app.lokalise.com/login
At the first login, you will see the page with the projects available to you. There are the project “Cloudike Shared 2.0” and the project of your company.
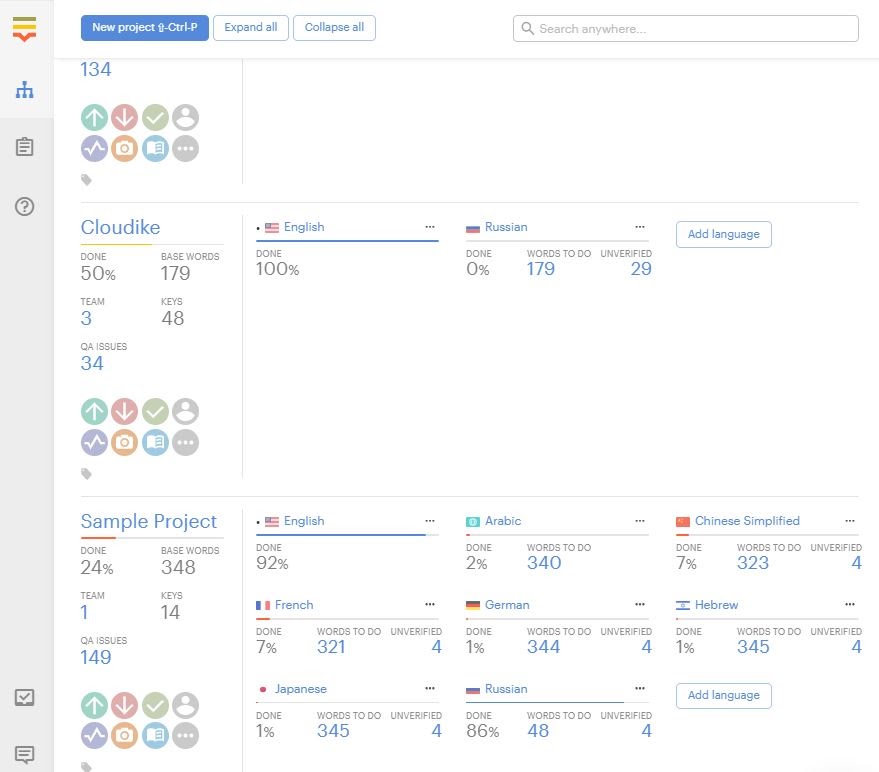
About the projects
The project “Cloudike Shared 2.0” is shared by different customers and the keys in this project are used by many customers. Note, that your changes may affect them, so please agree upon your changes with the Cloudike team.
The project of your company is used for customization and the keys in this project will be used only in your application.
Both projects may have the same keys, but your project has priority over the project “Cloudike Shared 2.0” and translations for the app will be taken from your project.
Work with localization
For app localization, you need to enter translations in the “Cloudike Shared 2.0” project for the language you need.
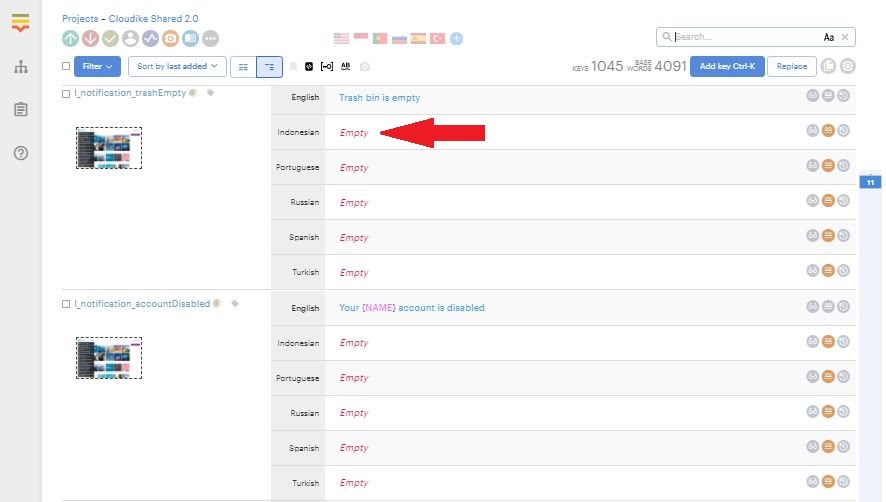
You can set up a translation using Google Translate or Microsoft Translator. Translations can be edited manually to avoid automatic translation errors.
Customize strings
If you want to create a string specific only to your company, it is necessary to find the key you want to customize in the “Cloudike Shared 2.0” project using the Search bar and create it in the project of your company, enter the customized string you need and save the changes.
Below are the steps required to customize a text string:
-
Enter the “Cloudike Shared 2.0” project.
-
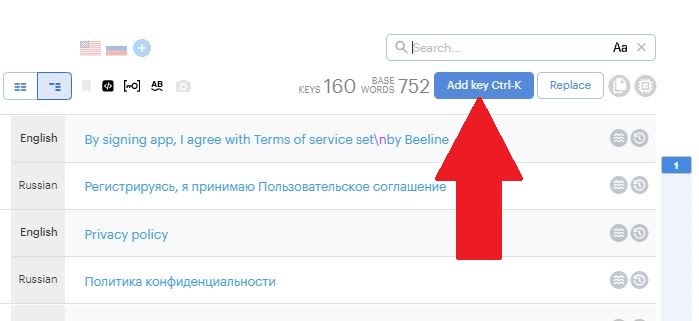
Use the Search bar in the upper right corner of the screen to find the text you want to customize.
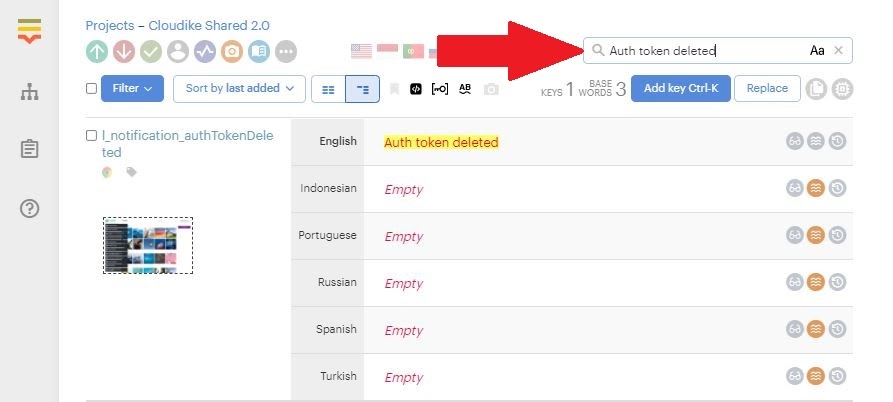
-
Copy the key associated with the found text string.
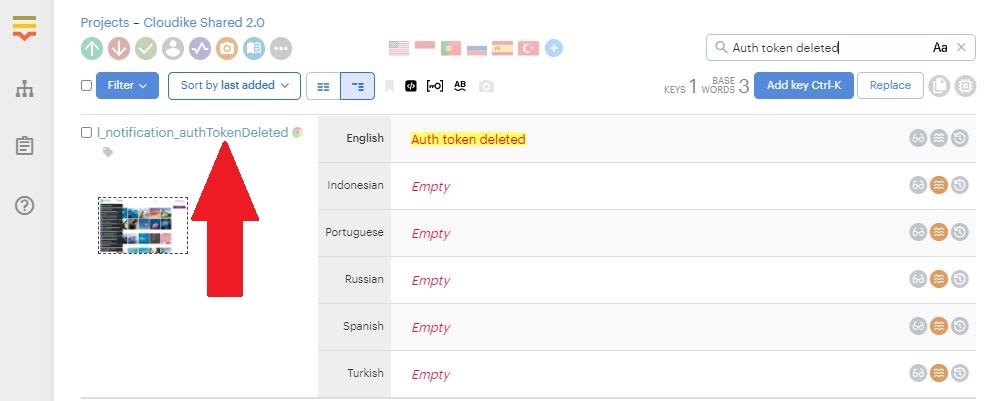
-
Enter your company project.
-
Click “Add key Ctrl-K” in the upper right corner of the screen.
-
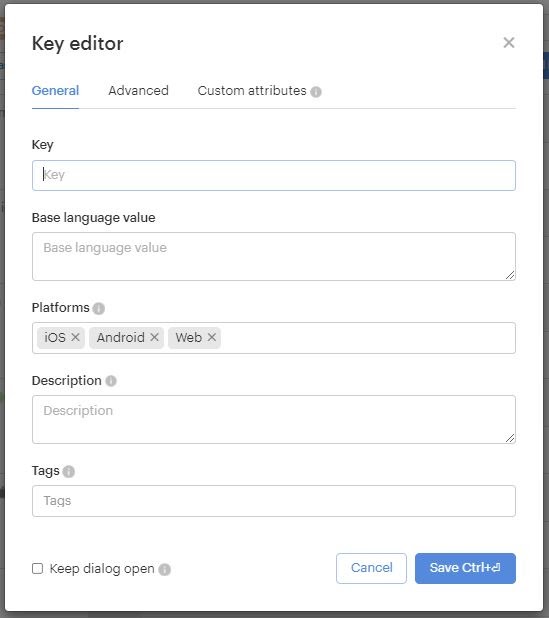
In the form that appears, paste the key you previously copied.
-
Enter “Base language value” and select a platform.
-
Click “Save Ctrl+↲”
The changes made will be seen in mobile applications and on the web after a new app build is released.