Using Web Portal. The Main Menu.
My Files
The "My files" section in the web interface will bring you to all the files available in Cloudike. This section is exactly the same as the folder on your computer; any files that you’ve placed into your folder on your computers are accessible through this part of the web interface. You can also add new files in this section, group them into folders as well as sort them by different criteria.
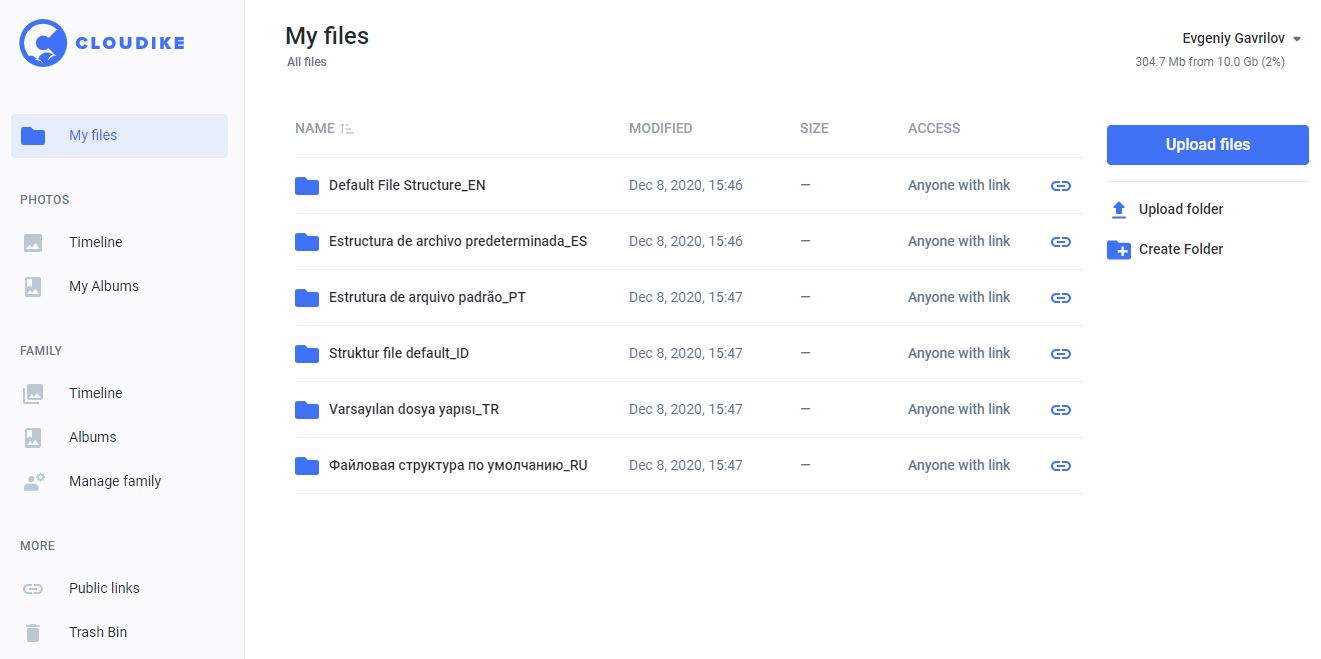
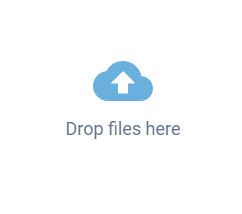
To upload new files to this section, click Upload files in the upper right corner of the page and to create a new folder in this section, click Create Folder.
Actions with files
After a check has been put on a folder or a file the following actions are available in the rught upper corner of the screen:
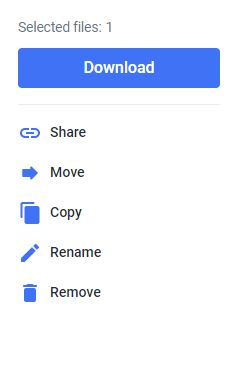
You can also manage files and folders just as you would in a normal local folder. You can place files into a folder by clicking on the file and dragging it to the folder you’d like to place it in. It is also possible to delete, rename, share, download or move files by right-clicking them with your mouse cursor and then using the drop-down menu on the right.
When you open a file you will be able to view a file technical data and file version history. Cloudike keeps track of every change your file has gone through, and it’s possible to restore any prior version of your files. This is especially handy if you’d like to roll back to the version you had before changes. You can download older versions of a file and upload a new version of a file.
Table 1. Actions with files available from the file menu in the bottom right corner of the page
| Icon | Description |
|---|---|
| Download a file | |
| Share a file | |
| File version history | |
| File technical data | |
| Delete a file |
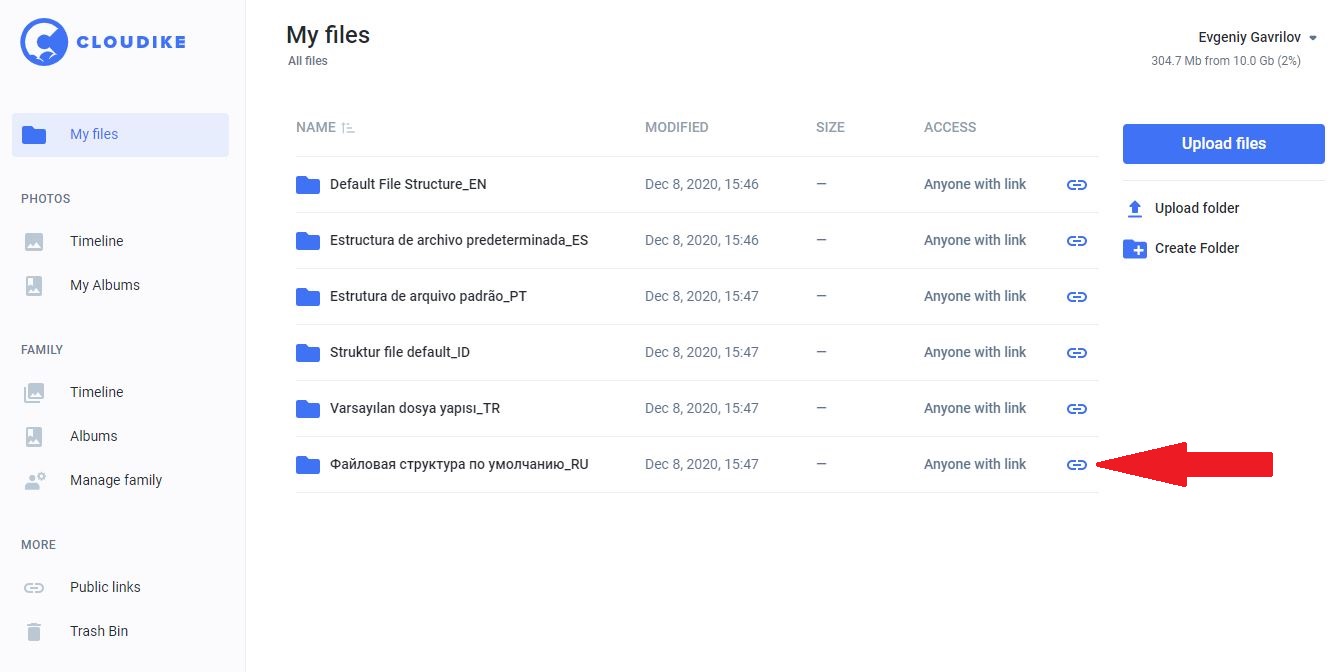
Sharing files and folders
To share a photo, it is necessary to create a public link and send it by e-mail or SMS.
Perform the following steps to share a photo:
-
Select a file or folder by putting a tick against it.
-
Click "Create public link" in the upper right corner.
-
In the menu, click "Generate link now", click "Copy" icon.
The sharing icon is also available in the file menu.
You can share a file using the sharing icon against the file.
 _
_
Sorting Files and Folders
Files and folders can be sorted by clicking the filters above the list of files as shown below:
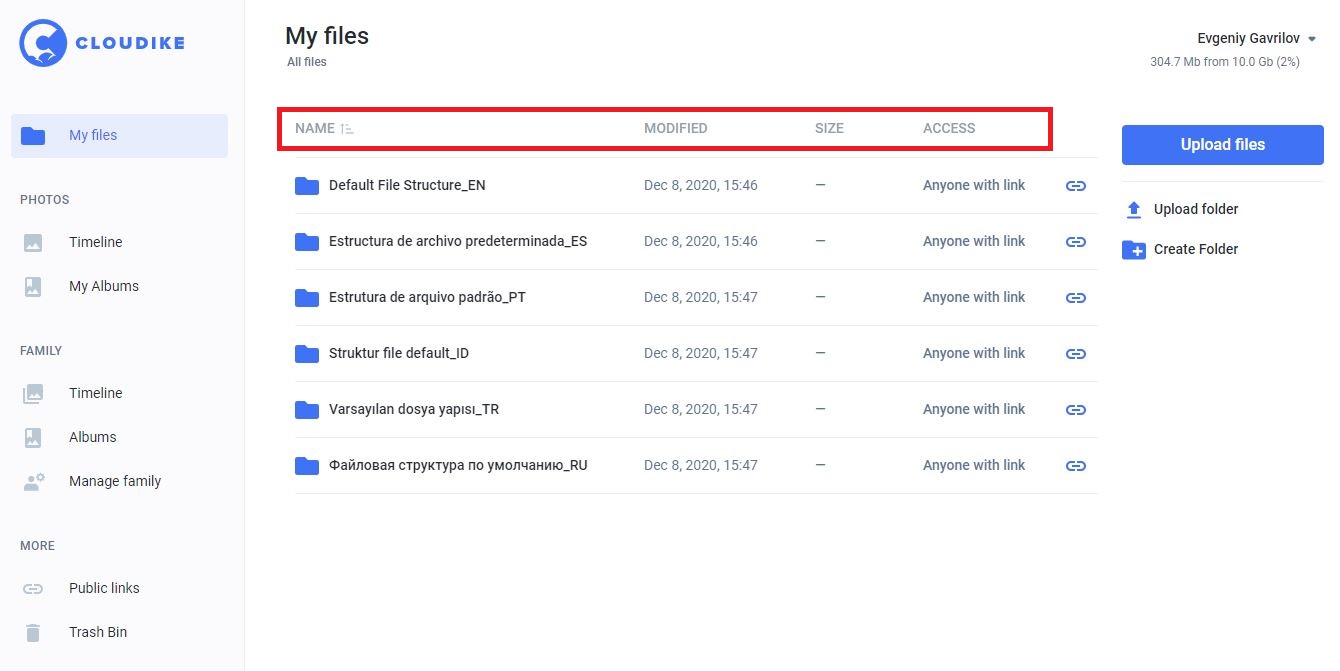
Filtering files and folders
Moving or Copying a file
To move or copy a file, perform the following steps:
-
Put a check on a folder or file.
-
Click Move or Copy in the main file menu in the upper right corner of the page.
-
Choose a destination folder.
-
Click Move or Copy
Public links
You can share folders and files in your Cloudike account with anyone (even if they don’t have a Cloudike account).
The section “Public links” contains the files that have been previously shared.
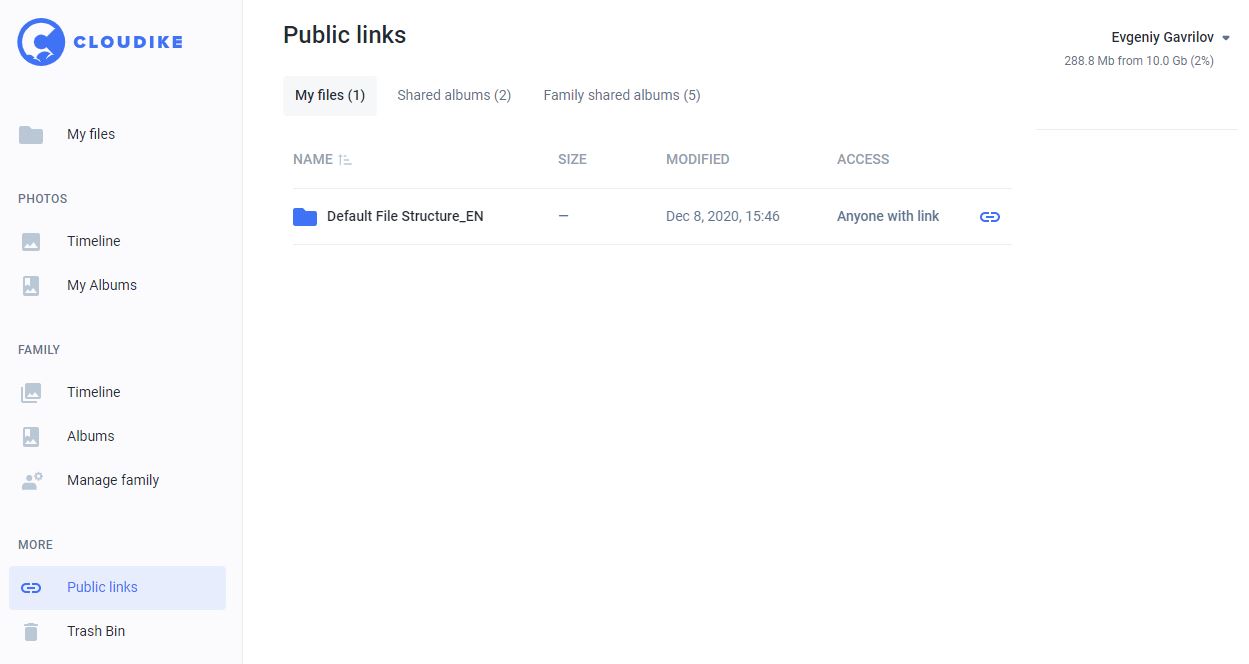
In this section you can change sharing options of files and folders. You can create/remove a public link to/from a file or folder so users can view them. To perform these actions, it is necessary to put a check against a file or a folder and click Sharing Options in the main menu in the upper right corner of the page. Then, you can create/delete a public link and copy it to clipboard.
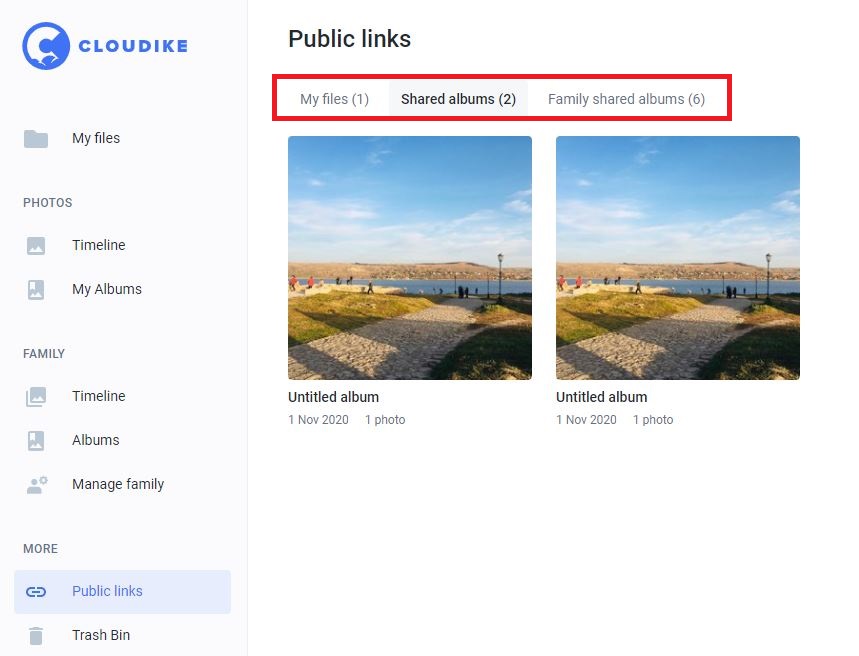
Sorting Public Links
Public Links can be sorted the same way files and folders are sorted, To sort them, click the filters above the list of files as shown below:
Trash Bin
Cloudike has an easy to use undo/undelete functionality. Accessed via the web interface, this feature lets you retrieve a file if you accidently delete it. All deleted files are moved to a trash folder. In this section you can either restore deleted files or empty a trash folder.
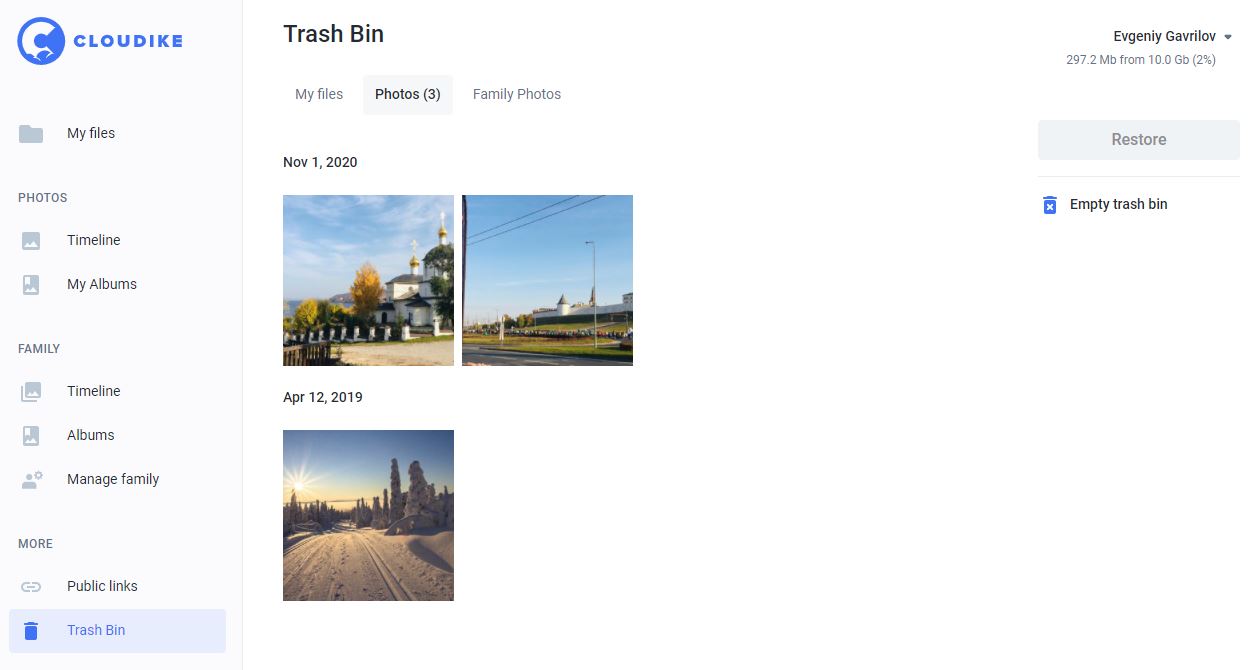
To restore files, put a check against the files you would like to restore and click Restore in the main menu at the top of the page.
To empty a trash folder, click Empty Trash
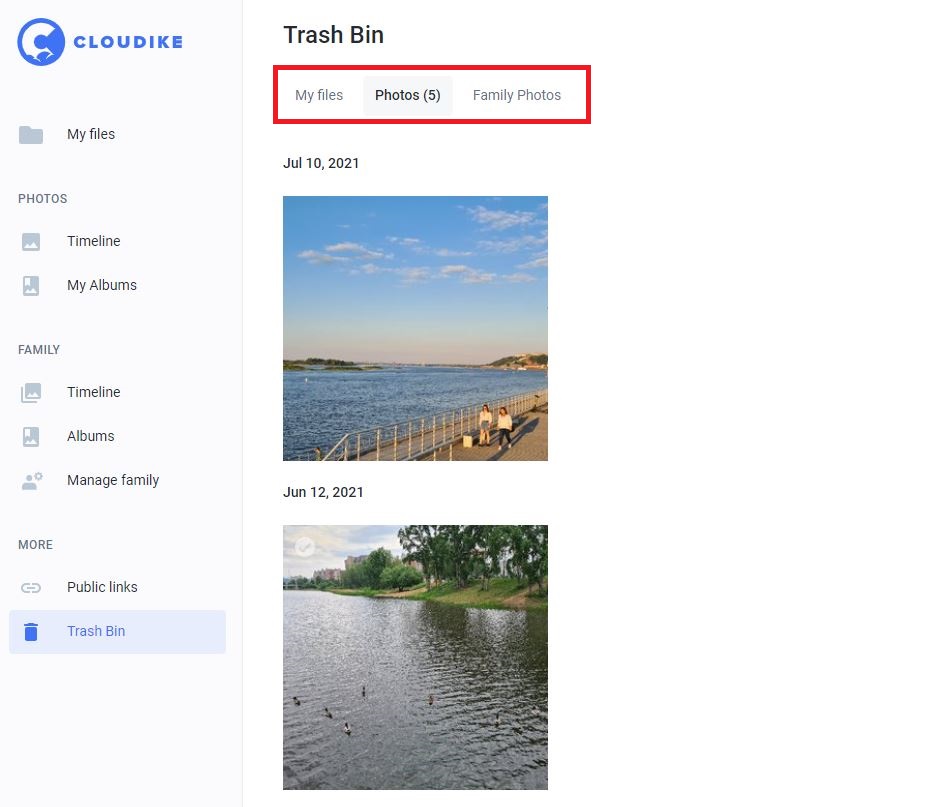
Sorting deleted files and folders
Deleted files are sorted by files, photos and family photos as shown below.
Photos
The section “Photos” is the storage of all photos backed up or uploaded to Cloudike and moved to the section “My Photos” on your device. Photos can be grouped chronologically as a timeline (which organizes images and videos by date, with the newest ones at the top) and in albums. The photo albums and the timeline on the Photos page are ways to share and organize your photos through Cloudike.
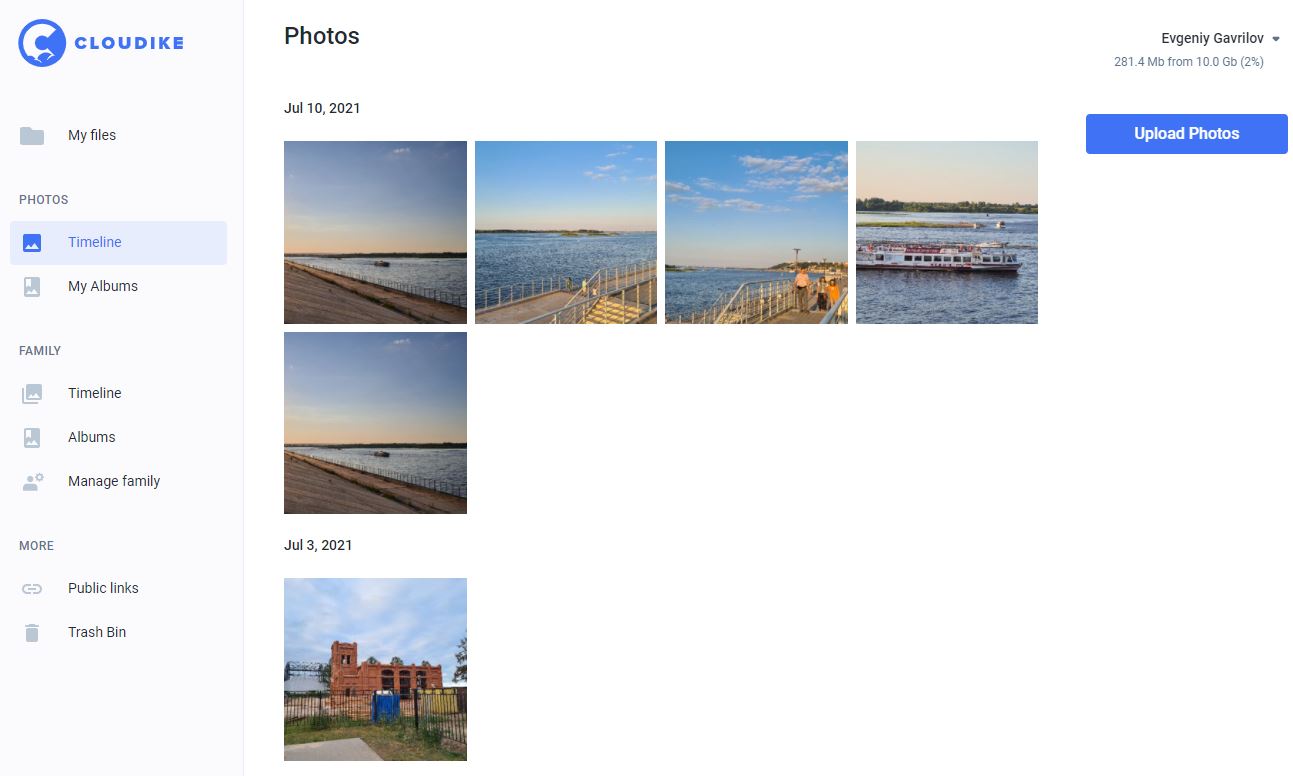
To upload new photos to this section, click Upload photos in the upper right corner of the page.
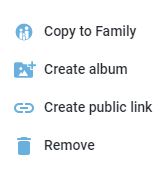
Actions with a photo can be performed in the following ways. You can put a tick on a photo and use the below actions in the right upper corner of the page:
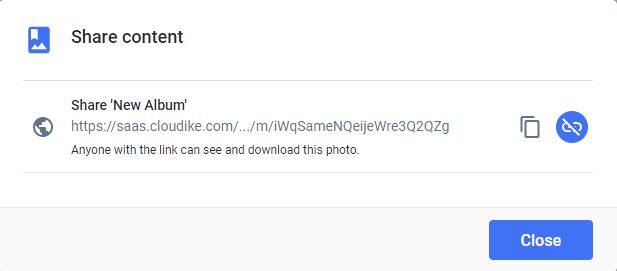
Another way is to open a photo and use a photo panel available in the bottom right corner of the page. You can edit, download, share and delete a photo.
![]()
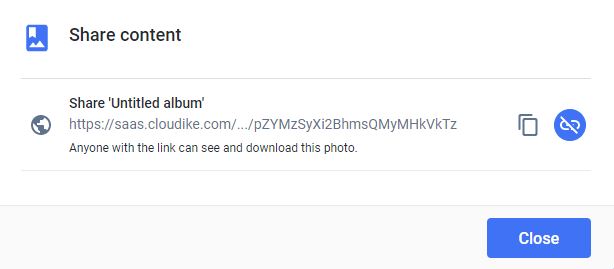
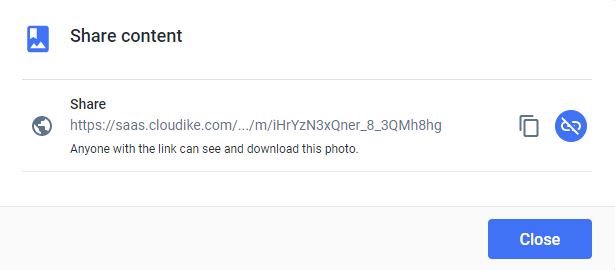
For photo sharing, click ![]() , generate a link by clicking
, generate a link by clicking ![]() and copy the link to clipboard by clicking
and copy the link to clipboard by clicking  :
:
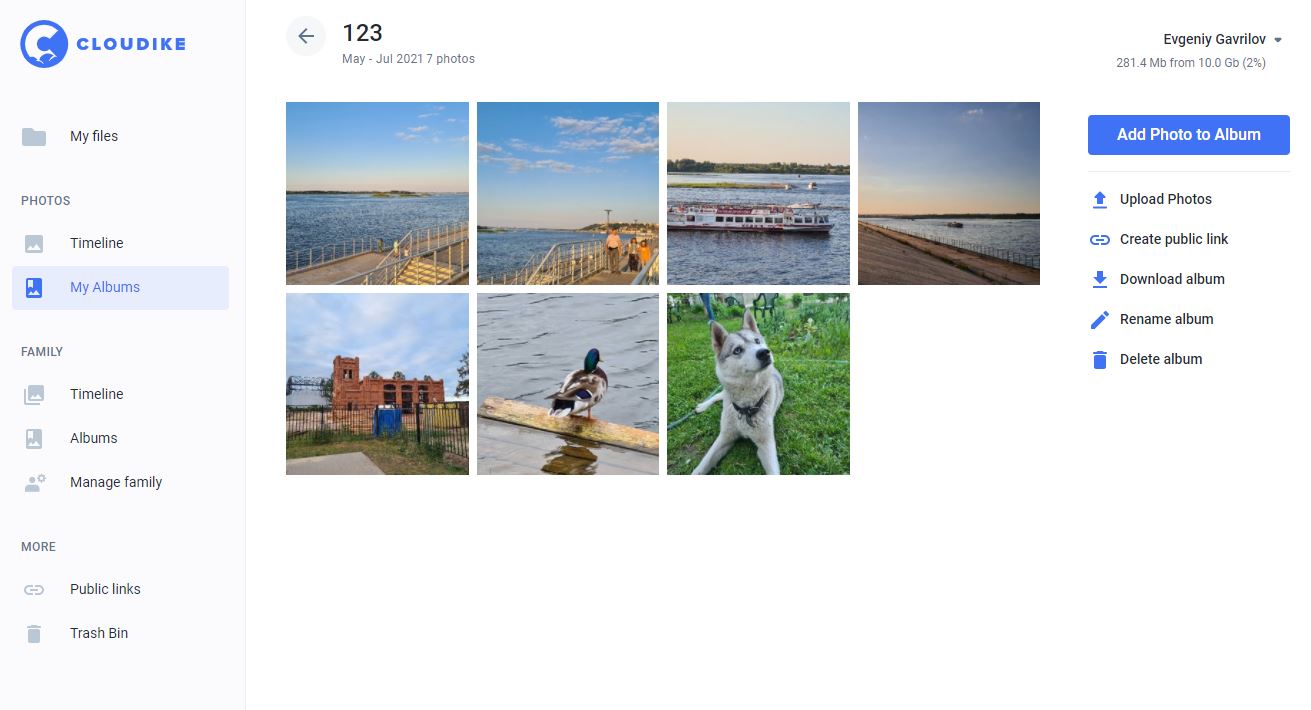
My albums
“My albums” is the subsection of the section “Photos”. Photo albums allow you to share a set of photos with others (even non-Cloudike users).
You can use the album menu which appears when you click the gear wheel icon.
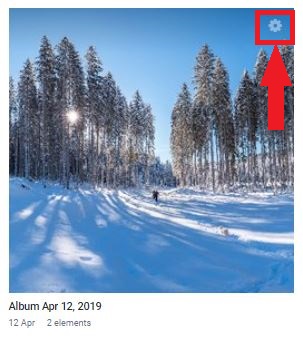
The pop-up album menu
When you click the gear icon, the following actions are available: rename photo album, create and copy the public link, delete and update photo album:
To add photos to a photo album, enter an album.
Family
Every Cloudike user can have a Family Cloud. The Family Cloud feature allows its members to collaborate on the same set of files or albums. Any additions, changes or deletions made by any Family Cloud member will be seen by all Family Cloud members. Family Сloud members only have access to the folder the owner shares with them, and not to the other contents of Cloudike. This makes Family Cloud feature ideal for collaboration on work projects. All Family Cloud members always have the latest version of the files.
Files added to the Family Cloud by any of its members and changes made to Family Cloud contents become automatically available to all other Family Cloud members.
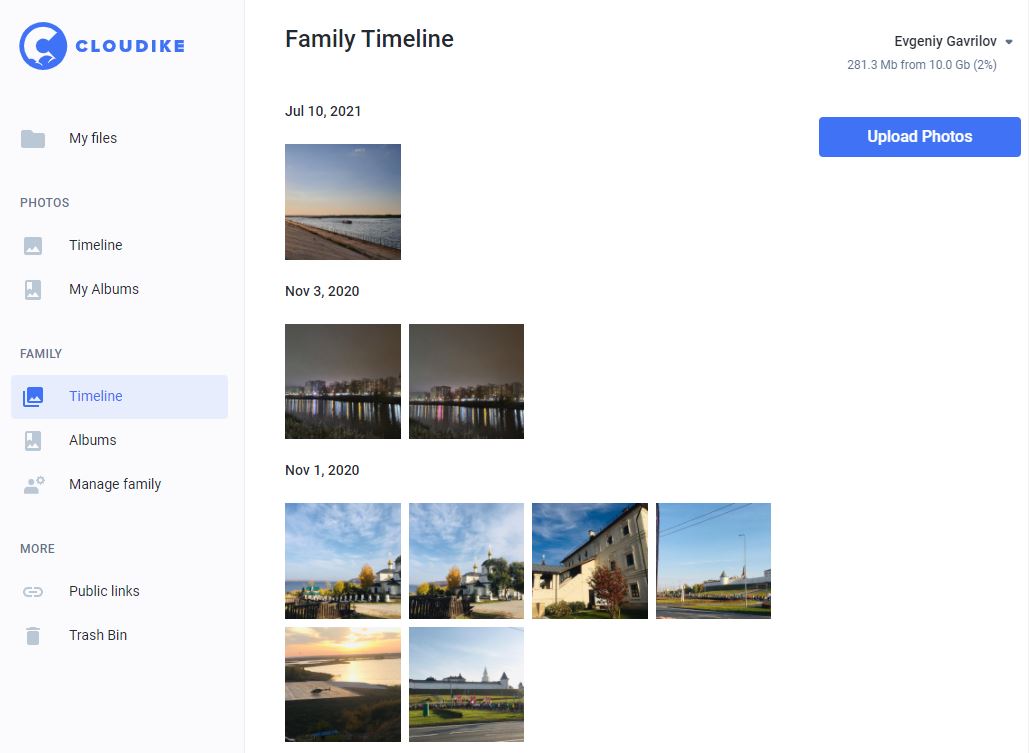
The section “Family Cloud”
The actions with photos and albums in the “Family Cloud” section can be performed the same way they are performed in the section “Photos”. To copy photos to private storage, put a tick on a photo and click "Copy to personal" in the menu in the upper right corner of the screen.
Working with Family Cloud Albums
You can manage family cloud albums exactly the same way you do it with personal albums, the menu is the same:
You cannot join several Family Clouds!
Manage Family Cloud
In this section you can view a list of current family cloud members. To invite other users to join your Family Cloud, copy an invitation link, by clicking and share it with them through email or SMS. After sharing has been completed, a new Family Cloud member appears in a list.
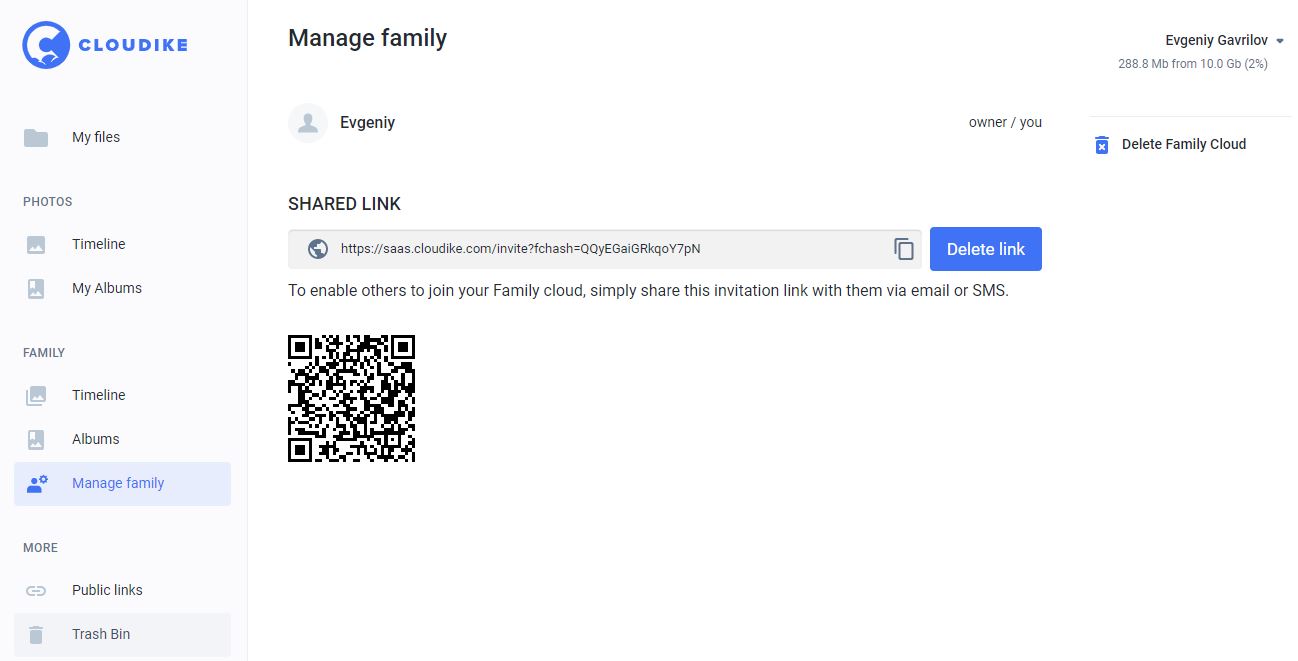
To remove user, hover a cursor over a family cloud member and click remove user
To delete Family Cloud, click Delete Family Cloud in the upper right corner of the page.
Profile and Settings
Profile and settings are located in the upper right corner of the page in the drop-down menu next to Display name. The subsections of this section are described below.
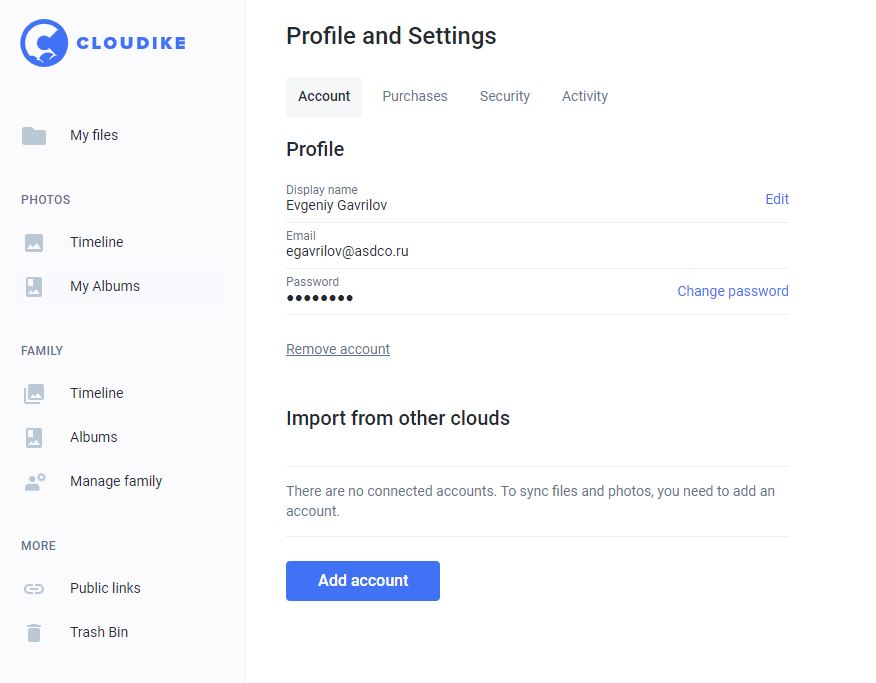
Account
In this section you can change password, display name and interface language; assign your Cloudike account to your Facebook account, enter a promo code and remove an account.
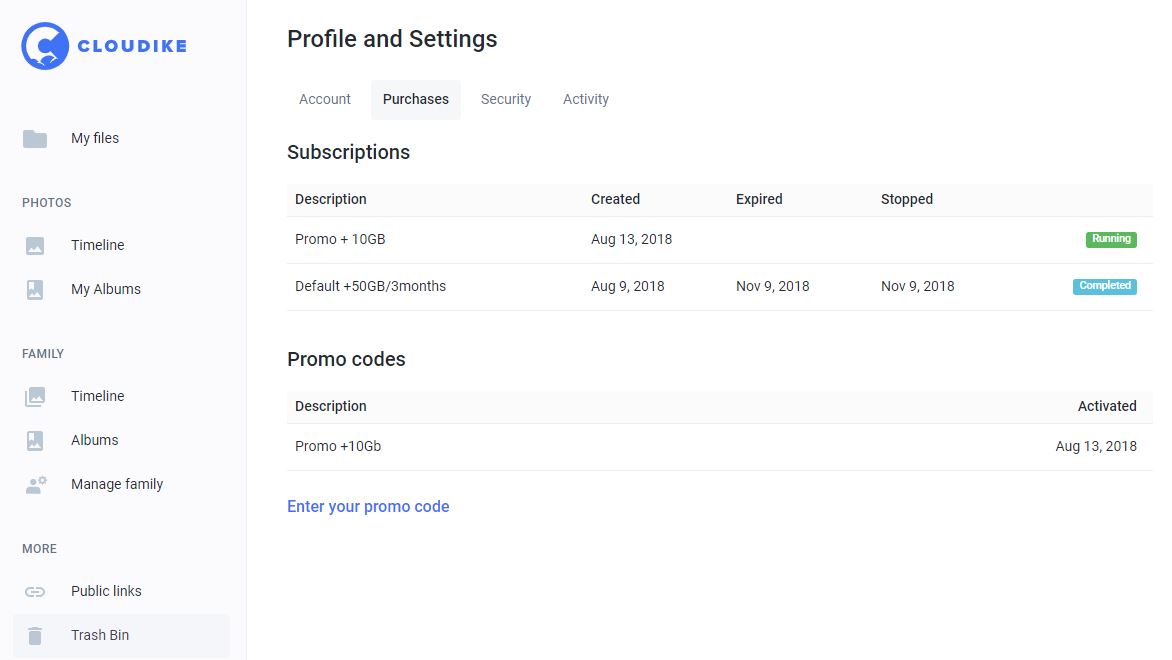
Purchases
In this section you can find details regarding orders, promocodes and statistics on current usage of space in cloud storage in MB.
Security
You can access your account through WebDav protocol by following the link https://webdav.cloudike.com
In this section you can enable WebDAV access to the site, change WebDAV login and password, remove devices tokens.

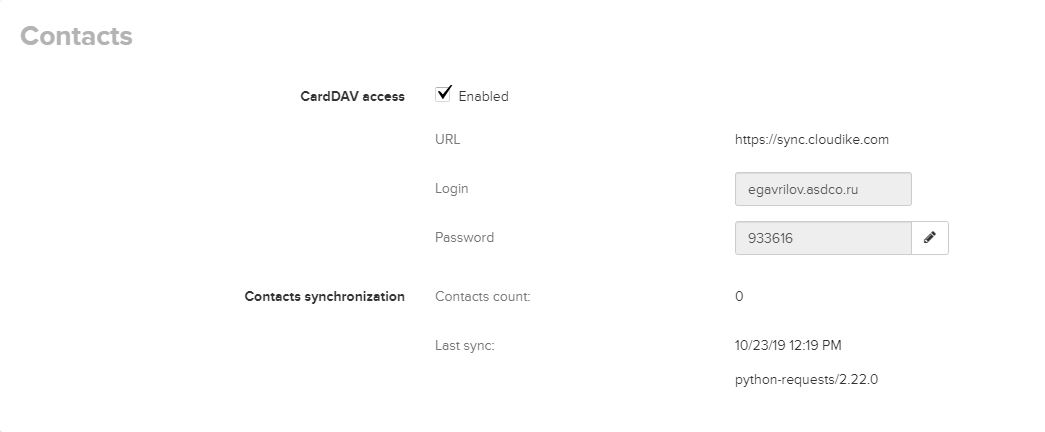
Contacts
In this section you can enable CardDAV access to sync up contacts among various devices (Android, iOS).
Activity log
In this section all Cloudike activity log events on all devices are sequentially ordered and displayed. The activity log is a chronological change history of actions taken in Cloudike. The activity log displays the changes made to an account. It’s useful for troubleshooting an issue and provides an audit trail that can be helpful e.g. when collaborating with a team.
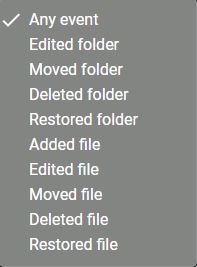
The activity log contains the following fields:
- Event - The action that the user performed.
- Object - The object that the action was taken on.
- Size - An object size in KB, MB, GB or TB.
- Device - The device that the action was taken from (Browser, Desktop client Mac, Desktop client Windows, Mobile Android, Mobile iOS).
- Date - A timestamp of when the action occurred.
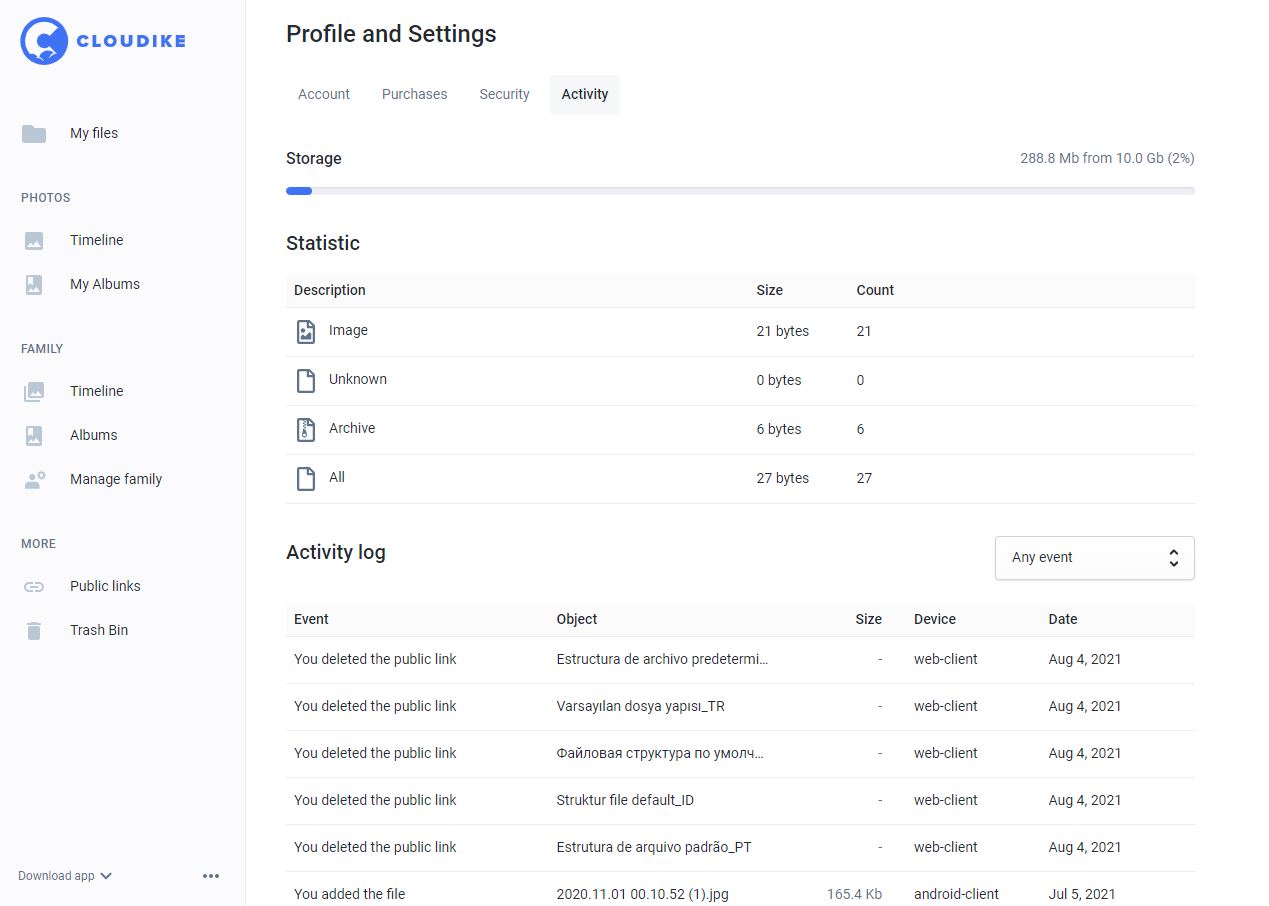
In the upper right corner of the page you can apply different filters to find a needed event.