Installing iOS App. Making Initial Settings
The installation of Cloudike on iOS device is also straightforward. You will be asked to create a Cloudike account after installation or to enter your username and password if you have already signed up for the service.
- Visit the page https://saas.cloudike.com to get the app from Apple App Store.
Installing iOS Application
To find and install the app you can simply search for “Cloudike” in Apple App Store.
-
Download and set up the application.
-
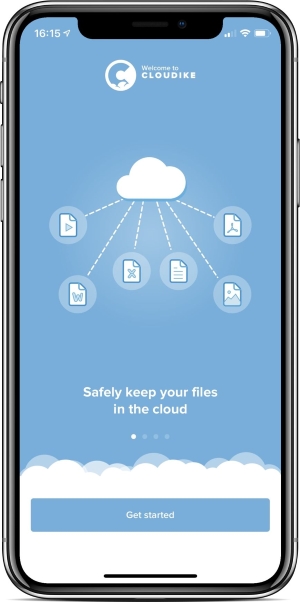
Once the application has been downloaded and set up, tap Open. A series of interstitial screens appear when you open the app, explaining its purpose and features.
Getting Started
-
Tap Get Started.
-
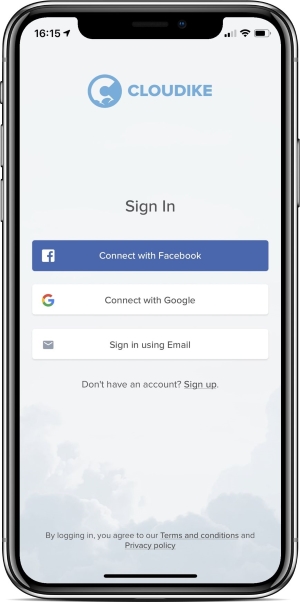
When you open the Cloudike App the first time you will be prompted to connect to your account with Google account or Facebook account or sign in using your Email and password if you have a Cloudike account. You can also create an account if you are a new user. The following windows appear:

Signing in to the IOS App
-
If you already have a Cloudike account, sign in or create a new account by clicking Sign Up in the lower half of the page. You only need one account no matter how many devices you want to keep in sync.
-
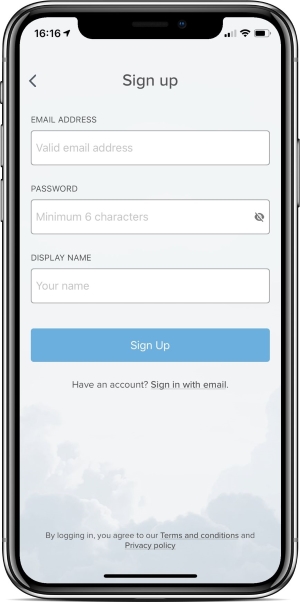
Fill out the form that appears, which asks for your Display name, Email and a Password.
Signing up to the system
-
Before tapping Sign up, you will also need to check that you agree to Cloudike terms of service and privacy policy.
-
Once you have filled in the information, tap Sign up
When you first sign in, you will be asked to make some initial settings regarding the upload rules. The App will need permission to get access to your data: Photos and Contacts. To enable Auto upload of this data, tap ALLOW ACCESS. The app will turn on the automatic camera upload and video upload.
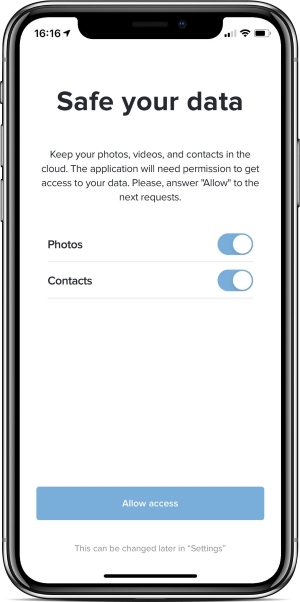
Initial Upload Settings
After upload settings are made, click Allow Access. To let your photos be uploaded to the cloud when the application is inactive your permission to use "Notifications" and "Location" is needed. So, allow access to these settings as shown below:
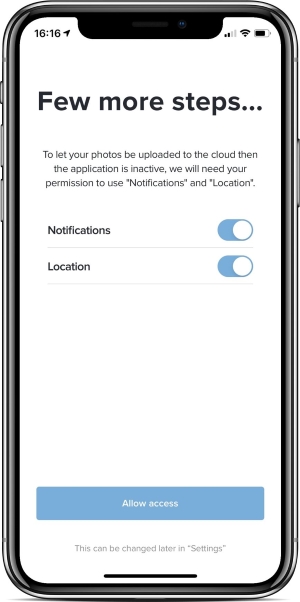
Allowing access to "Notifications" and "Location"
You can allow access to "Notifications" and "Location" and specify the data type to back up in the Settings menu later. You can also select folders to be synced with Cloudike in the mobile application Settings.